


Have you ever gazed at a stubborn tree stump in your yard and wondered why they linger for years, resisting every attempt at removal? The secret lies in understanding the right tree stump removal methods. This comprehensive guide unveils the best techniques, insider secrets, and expert tips you’ll need to finally clear your landscape—and reclaim the beauty and safety of your property.
Unlocking the Secrets: Why Understanding Tree Stump Removal Methods Matters
- Have you ever wondered why tree stumps persist in yards year after year? Discover the crucial role effective tree stump removal methods play in keeping your landscape beautiful and safe.
What You'll Learn About Tree Stump Removal Methods
- The most effective tree stump removal methods
- Advantages and disadvantages of each removal method
- Best practices for removing tree stumps and tree stumps safely
- Answers to common stump removal questions
Introduction to Tree Stump Removal Methods
- Overview of tree stump, tree stumps, and stump removal
- Why stump removal methods matter for homeowners and landscapers
- How tree stump removal can improve your garden and property value
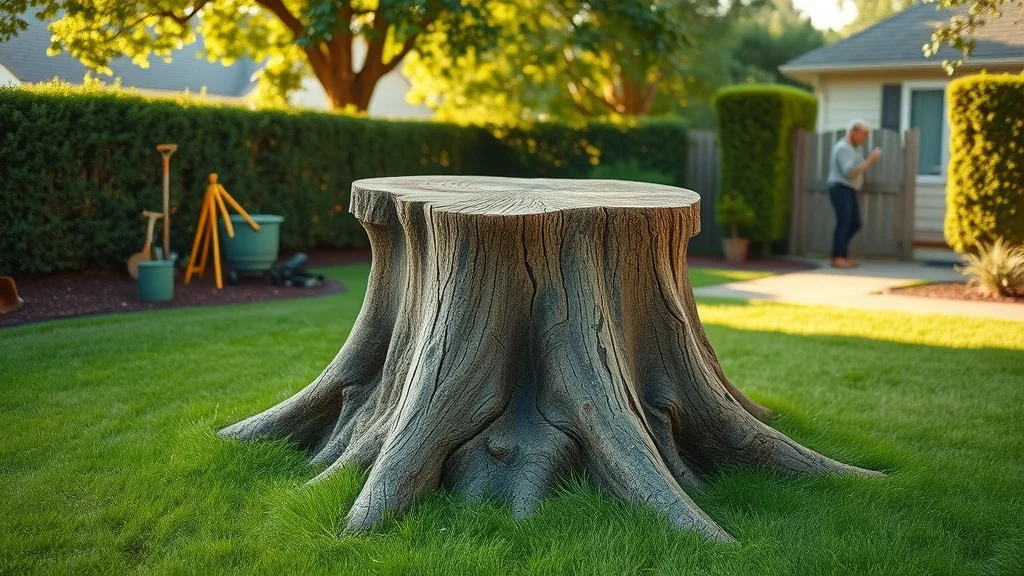
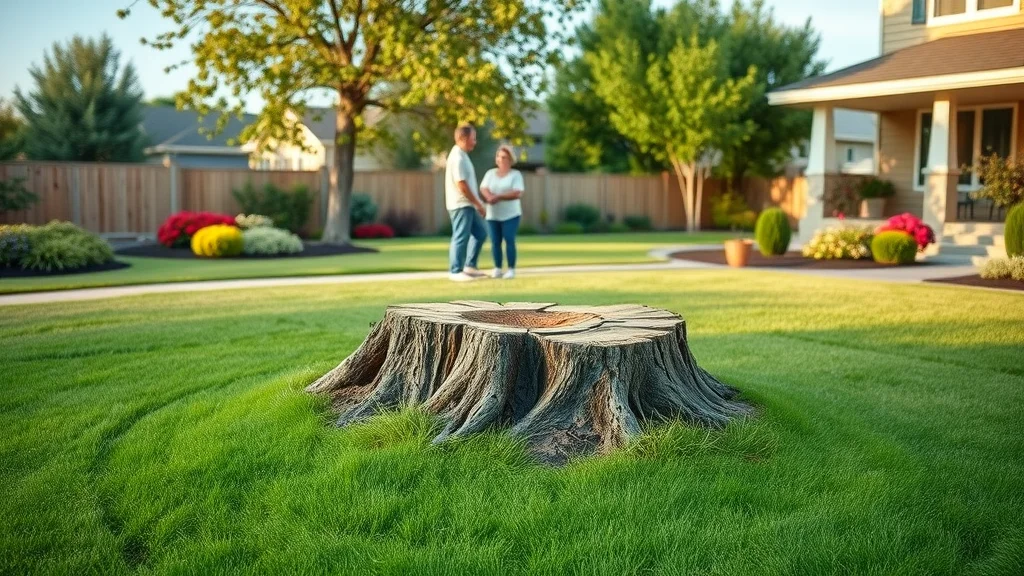
Tree stumps are more than just leftover pieces from when you remove a tree—they can become tripping hazards, attract pests, and even negatively impact your lawn’s health. That’s why choosing the best tree stump removal methods is so important for both homeowners and landscapers. Whether you’ve inherited a stubborn old stump or recently took down a tree, knowing your options to finally clear it from your yard will help protect your landscape’s value and open up fresh possibilities for gardening, structures, and play areas. With the right removal method, you turn an eyesore into an asset, all while keeping your family safe and your property looking its best.
Stump removal isn’t just about making your yard look good—it can also prevent the spread of disease, eliminate obstacles for mowers, and stave off unwanted critters. In this guide, you’ll learn about every major method, so you can weigh cost, effectiveness, and your own comfort level before making the best choice for your next landscaping project.
As you consider which stump removal method best fits your needs, it's also worth thinking about how seasonal tree care can impact your overall landscape health. For example, integrating smart pruning practices in the fall can make future stump removal easier and help prevent issues before they start. Discover practical advice in these fall tree trimming tips that most homeowners miss to keep your trees and yard in top shape year-round.
Manual Tree Stump Removal Methods: Tools, Steps, and Safety
Manual tree stump removal is a tried-and-true option for those willing to put in some hard work. When performed correctly, these methods can help remove a tree stump entirely on your own terms—no waiting, no chemicals, just a little sweat. Manual methods are especially helpful for small to medium stumps, or in areas where machinery can’t easily access. But as every homeowner knows, it’s always smarter (and safer) to do it right from the start.
Essential Tools for Manual Stump Removal
- Digging bar, ax, shovel, chainsaw—what you need for effective stump removal
The right tools make all the difference when it comes to manual tree stump removal methods. Start with a sturdy shovel for digging out soil around the base, then use a digging bar to loosen tough earth. A sharp ax helps slice through thick roots, while a chainsaw can be used to cut large portions of the stump or roots for easier handling. Stubborn stumps often require a drill bit to create holes for leveraging and for introducing water or other agents to speed up the decomposition process. When considering the best method for removing a tree stump manually, always have gloves, safety goggles, and protective clothing ready—safety should never take a back seat.
In some cases, you’ll also want to use a mattock or hatchet for smaller roots, and a hand saw or loppers for more delicate cutting. Remember that having the right protective gear—like steel-toed boots and sturdy work pants—keeps you safe from flying debris and accidental slips. Combining these tools ensures that you’ll be prepared for every challenge these pesky stumps can throw at you.
How to Remove a Tree Stump Manually
- Step-by-step guide to manual tree stump removal
- Tips for tackling stubborn tree stumps
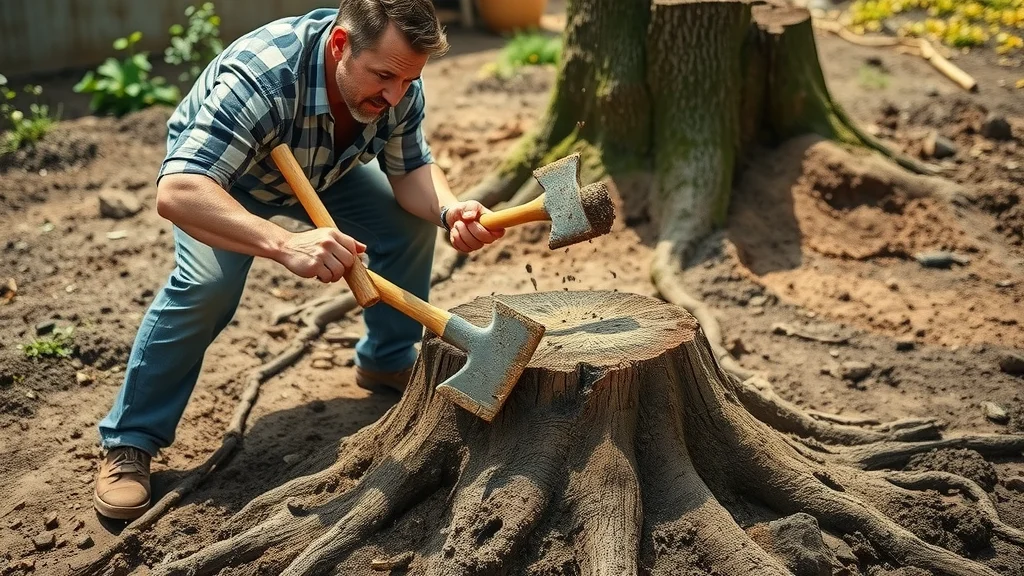
First, use a shovel to dig a trench around the tree stump, exposing as much of the root system as possible. Once roots are visible, slice through them with an ax or saw. A digging bar can be invaluable for prying stubborn roots or the stump itself upward. Continue loosening the soil, cutting roots as you go, and lift or wiggle the stump—sometimes you’ll need to pull the stump free with persistent effort. If needed, use a chainsaw to remove large portions of the wood and make moving the stump easier. Remember, patience and perseverance are key, especially if you’re dealing with particularly tough or deep-rooted stumps.
For especially large tree stumps, consider using a drill bit to drill holes through the thickest roots. This weakens the structural integrity and can make it easier to break apart the stump manually. If you encounter a stubborn section, saturate the area with water to soften the soil and give yourself an easier time. These manual removal methods may be labor-intensive, but many homeowners find the process rewarding—and significantly less expensive than hiring professional services.
Safety Tips for Manual Stump Removal Methods
- Protective gear and best practices for safe stump removal methods
Always use high-quality protective gear—thick gloves, safety goggles, long sleeves, and steel-toed boots are your best line of defense. Prepare your workspace by removing any obstacles, keeping kids and pets away during the process, and working during daylight for maximum visibility. When using sharp tools like axes and chainsaws, keep a safe grip and stay alert. Regularly check your footing, and never force tools beyond their limits. If a stump proves too large to manage manually, don’t risk injury—consider a different removal method or consult with a professional.
"Manual stump removal is labor-intensive but gives you complete control over the process." – Arboriculture Specialist
Mechanical Tree Stump Removal Methods: The Power of the Stump Grinder
When it comes to efficiency, nothing beats a stump grinder. These powerful machines are engineered for the express purpose of chewing through both stumps and roots, pulverizing them into mulch. Mechanical removal is often the fastest and easiest solution, particularly for large or hardwood tree stumps. This type of removal gets professional-grade results with much less effort on your part—though it does come with special considerations regarding cost, noise, and safety.
How a Stump Grinder Works for Tree Stump Removal
- Understanding stump grinders and their role in efficient tree stump removal
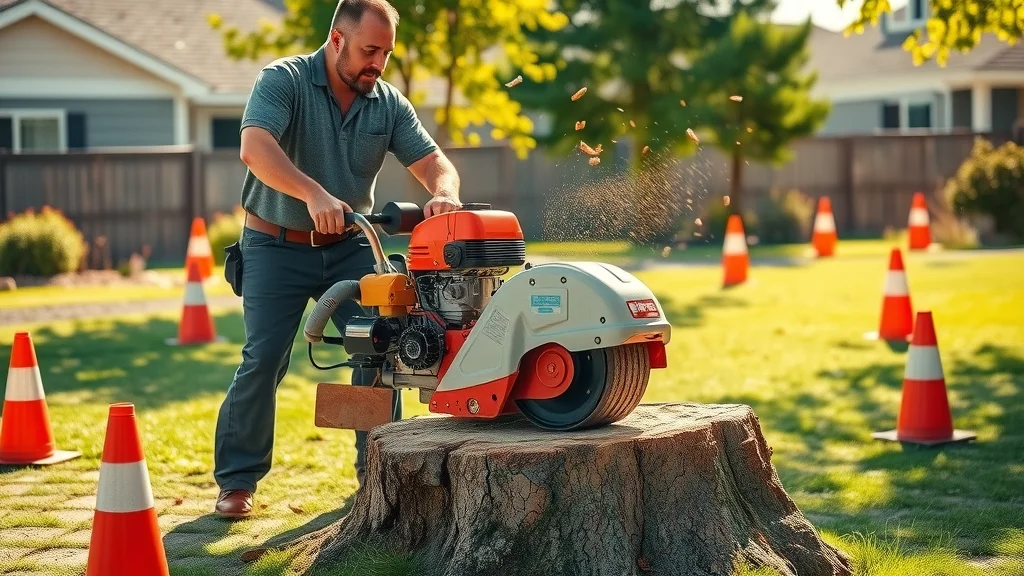
A stump grinder is a heavy-duty machine designed to rapidly reduce a tree stump to wood chips. Equipped with a rotating cutting disk studded with carbide teeth, the grinder chews away at the stump above and below ground level. As you maneuver the machine, the sharp teeth grind the wood into mulch, gradually lowering the stump and cutting into roots. This method is especially useful for removing large or multiple stumps on your property and is far less physically demanding than manual labor. Many homeowners opt to rent a stump grinder for one-off projects, while landscape professionals use industrial models for bigger jobs. Either way, understanding the power of the stump grinder is crucial before beginning any mechanical removal task.
Stump grinders come in several sizes, from lightweight units you can push manually to massive tracked models that require a trailer. The process is relatively quick—the average tree stump removal operation using a grinder can be completed in less than an hour, depending on stump size and hardness. The end result: ground-level soil ready for reseeding or replanting, with minimal lasting impact on the surrounding landscape.
Step-by-Step: Removing Stumps with a Stump Grinder
- Preparation, operation, and cleanup for stump grinder use
To begin, prepare the area by clearing rocks, debris, and any obstacles around the tree stump. Read the operating manual and don your safety gear, including goggles, gloves, and protective shoes. Position the stump grinder over the stump, ensuring the cutting wheel is above the wood. Turn on the machine and slowly lower the cutting wheel onto the stump, moving it back and forth to grind through the wood layer by layer. Keep children, pets, and bystanders at a safe distance—the grinder produces flying chips and loud noise.
Continue grinding until the stump is 4–6 inches below the surface. Turn off the machine and rake up the mulch for use elsewhere or dispose of it. Fill in the hole with soil or compost as desired. Always follow local safety requirements and return any rental equipment clean and undamaged. This removal method is popular for a reason—it’s fast, effective, and leaves your yard looking refreshed.
When to Rent or Hire Stump Grinding Services
- Evaluating costs and convenience of mechanical stump removal methods
If you have several stumps or particularly large tree stumps, renting or hiring a professional stump grinder service can be more cost-effective than you might think. Rental costs for a medium-sized stump grinder range from $75 to $200 per day, making it an economical choice if you’re comfortable with machinery. For tougher jobs or maximum convenience, professional services charge $100 to $400 per stump (based on size and location). Consider your time, physical ability, and desire for a pristine finish when weighing your options. For some homeowners, working with a pro dramatically minimizes hassle and maximizes results right away.
"Stump grinding offers a quick and precise solution for even the largest tree stumps." – Professional Landscaper
| Method | Time Required | Cost | Effectiveness |
|---|---|---|---|
| Manual Stump Removal | 2–8 hours | $20–$100 | High (labor-intensive) |
| Mechanical Removal (Stump Grinder) | 30 min–2 hours | $75–$400 | Very High (quick and thorough) |
Chemical Tree Stump Removal Methods: Potassium Nitrate, Epsom Salt, and More
If you want to avoid back-breaking labor or heavy machinery, chemical tree stump removal methods provide an alternative. The most common chemical agents—potassium nitrate and Epsom salt—work by speeding up the natural rotting process, making the wood softer and easier to break apart or remove. Chemical methods are especially appealing for homeowners who can wait several weeks or months for full results.
How Chemical Stump Removal Works
- Science behind potassium nitrate, Epsom salt, and other chemicals in stump removal methods
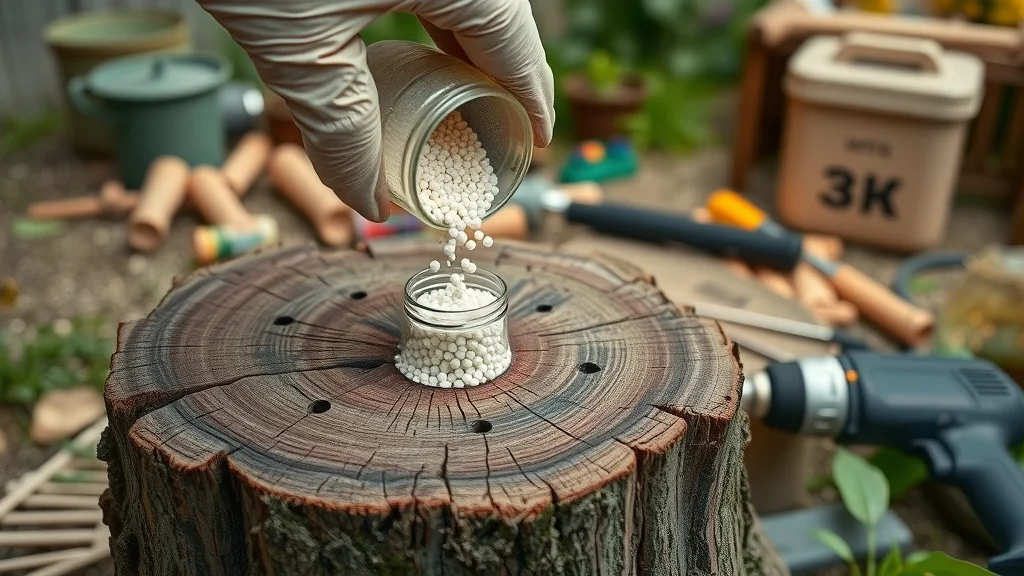
Chemical removal starts with the drilling of multiple deep holes into the surface and sides of the tree stump using a powerful drill bit. Into these holes, you pour a granular substance like potassium nitrate or Epsom salt. Over time, these substances accelerate the decomposition of the wood by introducing nitrogen or magnesium sulfate, feeding fungi and bacteria that break down cellulose and lignin. Watering the holes helps dissolve the chemicals and start the rotting process, making the stump soft and spongy within weeks or months.
While both potassium nitrate and Epsom salt are popular methods, it’s important to follow all safety instructions and keep pets and children away from the treated stump. This tree stump removal method is best for patient homeowners and can be combined with manual removal at the final stage to finish the job.
Step-by-Step: Applying Potassium Nitrate and Epsom Salt
- Instructions for safely executing chemical tree stump removal
- Use a drill bit to create holes in the top and sides of the tree stump, 8–12 inches deep and spaced several inches apart.
- Fill each hole with potassium nitrate or Epsom salt using a funnel or scoop.
- Add water to each hole, dissolving the chemicals and initiating the decay process.
- Cover the stump with a tarp to retain moisture and speed decomposition. Optional: Add soil or mulch on top.
- Wait 2 to 8 weeks, checking periodically. The wood should become soft and crumbly. As it breaks down, you can easily split the stump with a shovel or ax and remove the remains from your property.
Pros and Cons of Chemical Tree Stump Removal Methods
- Environmental impact and effectiveness when applied to tree stumps
The main advantage of chemical stump removal is its simplicity—minimal physical effort, just patience. However, there are important considerations: chemicals can leach into the soil and potentially affect nearby plants. Some methods may not be suitable for use close to vegetable gardens or water sources. Effectiveness varies based on stump size and wood type; harder woods or very large tree stumps may take several months to fully decompose. While these methods are less likely to damage the surrounding landscape, they require you to wait and regularly monitor progress.
"Chemical stump removal is convenient, but patience is key for best results." – Certified Arborist
| Stump Removal Agent | Speed | Environmental Impact | Ease of Use |
|---|---|---|---|
| Potassium Nitrate | 2–8 weeks | Medium (may affect nearby plants) | Easy |
| Epsom Salt | 3–10 weeks | Low (less toxic, still requires caution) | Very Easy |
| Natural Decay (no chemicals) | Months to years | Very Low (eco-friendly) | Very Easy |
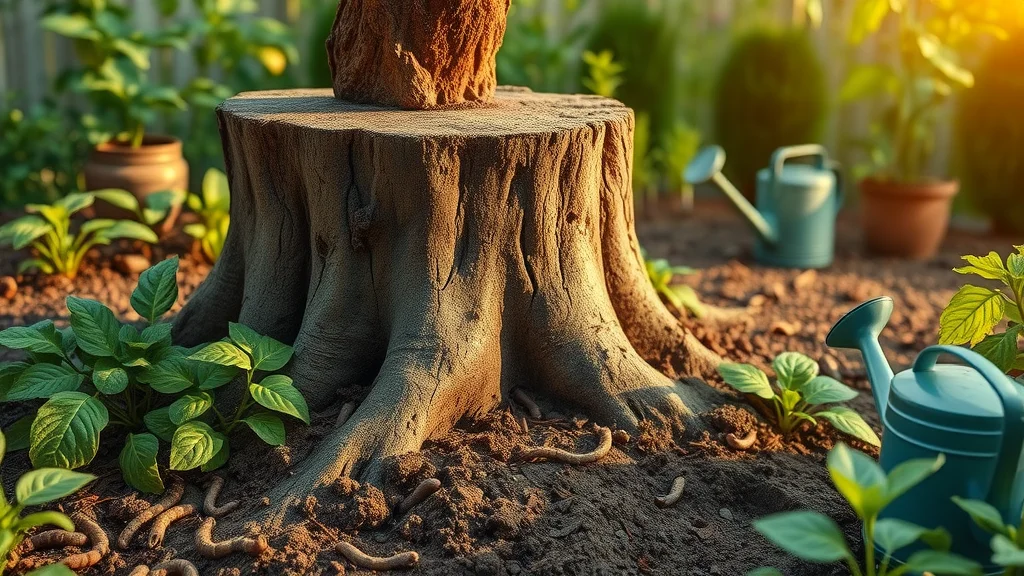
Natural and Eco-Friendly Tree Stump Removal Methods
Eco-conscious homeowners may wish to avoid chemicals altogether and instead let nature work its magic. By accelerating decomposition with simple household items, you can break down a tree stump in a way that supports soil health and benefits your surrounding garden. These methods are ideal for those with plenty of patience or for stumps in out-of-the-way parts of their property.
Techniques for Natural Tree Stump Decomposition
- Accelerating decay with compost, mulch, and water
Natural stump removal methods involve covering the stump with organic materials such as compost, mulch, or even fresh grass clippings. These layers provide nutrients and retain moisture, promoting microbial and fungal activity that hastens the decomposition process. Watering the mound regularly further speeds up the process. Some gardeners also introduce earthworms to break down the wood fibers even faster, resulting in healthier, richer soil where the stump used to be. While this method takes awhile—potentially months to years—it requires no harsh chemicals or strenuous digging and transforms the stump into a natural, living compost heap.
Can Epsom Salt and Other Natural Agents Remove the Stump Fast?
- Understanding what to expect when using eco-friendly stump removal methods
While Epsom salt is often advertised as a “natural” solution, be aware that it is technically a chemical and should be used responsibly. Its efficacy in speeding up the rotting process is notable—but not instantaneous. Combined with regular applications of water and organic matter, you can expect faster breakdown compared to letting a stump rot completely unaided, but not overnight results. For truly chemical-free solutions, patience will be your biggest investment. Eco-friendly methods are safest for wildlife, children, and pets, and can ultimately improve the fertility of your soil while making future landscaping much simpler.
Managing Expectations for Natural Tree Stump Removal Timeframes
- Realistic timelines for natural removal method outcomes
Natural tree stump removal is rewarding, but don’t expect overnight success. Depending on the stump’s size, wood type, and the local environment, complete decomposition can take anywhere from six months to several years. By adding compost or mulch, regularly watering, and even drilling holes to increase the surface area, you can encourage speedier decay. But overall, natural removal is about patience and planning—use it for stumps in “out-of-the-way” spots or if you’re focusing on environmental health.
Stump Removal Methods Comparison: Costs, Effectiveness, and Landscape Impact
| Method | Cost Range | Time to Complete | Landscape Impact | Key Pros | Cons |
|---|---|---|---|---|---|
| Manual | $20–$100 | 2–8 hrs | Minimal if careful | No chemicals, full control | Labor-intensive |
| Mechanical (Stump Grinder) | $75–$400 | 30 min–2 hrs | Low (unless careless with machinery) | Fast, effective, minimal labor | Rental cost, noise, safety risks |
| Chemical | $15–$50 | 2–12 weeks | Low–medium (environmental concerns) | Easy, affordable, no heavy lifting | Slow, possible soil impact |
| Natural/Eco-Friendly | Free–$30 | 6 months–3 years | Very low (benefits soil) | Eco-friendly, improves soil | Very slow |
- Key pros and cons for each tree stump removal method
- Short- and long-term effects on tree stumps and soil health
Lists: Quick Reference Guide to Tree Stump Removal Methods
- Manual Removal (digging bar, ax, shovel)
- Mechanical Removal (stump grinder or excavator)
- Chemical Removal (potassium nitrate, Epsom salt)
- Natural Decomposition (mulch, compost, water)
- Professional Tree Stump Removal Services
- Essential Tools and Materials by Stump Removal Method:
Manual: Digging bar, ax, shovel, chainsaw
Mechanical: Stump grinder, safety gear
Chemical: Drill bit, potassium nitrate/Epsom salt, water, tarp
Natural: Compost, mulch, water, gardening gloves - Checklist: Steps for safe tree stump removal
- Wear protective gear
- Clear the work area
- Follow step-by-step procedures for your chosen method
- Dispose of debris safely
People Also Ask: Tree Stump Removal Methods FAQ
What will rot a tree stump quickly?
- Exploring potassium nitrate, Epsom salt, and compost as quick rot solutions for tree stumps.
Potassium nitrate is the quickest chemical solution, working in as little as two weeks for small stumps when combined with water and proper applications. Epsom salt is slower but safer for the environment, while adding fresh compost and covering the stump accelerates natural rotting by encouraging fungal growth. For the fastest results, drill deep holes and use one of these effective stump removers, remembering that “fast” still means a few weeks, not days.
What is the fastest and easiest way to remove a tree stump?
- Assessing stump grinder efficiency versus manual and chemical removal methods.
Using a stump grinder is widely considered the fastest and easiest method to remove a tree stump, particularly large ones. Mechanical means require minimal manual labor and deliver immediate results. While chemical and manual methods are effective, they take more time or physical effort, and natural methods are best for those with plenty of patience or for less-urgent projects.
How long does it take for a tree stump to rot with Epsom salt?
- Typical timeframes and factors influencing Epsom salt stump removal results.
If you choose the Epsom salt stump removal method, expect to wait at least 4 to 10 weeks for noticeable decomposition, sometimes longer for dense hardwoods or larger stumps. Drilling enough holes and keeping the stump moist—but not saturated—will help ensure the process moves as quickly as possible.
How to get rid of a stump in 2-3 days naturally?
- Limitations and realistic expectations for fast natural tree stump removal methods.
Despite the claims, there is currently no truly natural method to remove the stump within 2–3 days. Even with the addition of compost, mulch, and water, natural decomposition is a slow process. For urgent stump removal, mechanical grinding or professional removal is advised.
Frequently Asked Questions About Tree Stump Removal Methods
-
Should I choose mechanical or chemical tree stump removal methods?
If you want fast, thorough results and have sizable stumps, mechanical methods are usually best. Chemical methods are more affordable and require less labor but take longer to yield results. -
Is burning a safe stump removal method?
Burning is not recommended due to safety, legality, and liability issues in most locations. Always check local regulations before considering this method. -
How do tree stumps affect lawn health if not removed?
Stumps can attract pests, provide a breeding ground for disease, and hinder grass growth or create tripping hazards. Removing stumps supports overall lawn health and appearance. -
What are the risks of improper stump removal methods?
Inadequate removal can damage underground utilities or nearby plants and pose ongoing safety risks. Always follow best practices to avoid lasting problems.
Key Takeaways: Choosing the Best Tree Stump Removal Methods
- Manual, mechanical, chemical, and natural tree stump removal methods compared
- Choose the tree stump removal method that fits your landscape, timeline, and budget
- Best practices and safety tips for removing tree stumps effectively
Grow Your Knowledge: Next Steps for Mastering Tree Stump Removal Methods
- Expand your skills with expert advice on tree stump removal
- Grow your landscaping expertise—call 203-271-7991 or visit TreeGuardianNews.com to subscribe.
Conclusion: With a clear understanding of tree stump removal methods, you’re now empowered to make informed decisions, select the right tools, and apply best practices to keep your property beautiful and safe—today and for years to come.
If you’re ready to take your yard to the next level, consider how a holistic approach to tree care can make all the difference. Beyond just removing stumps, maintaining healthy trees throughout the year ensures your landscape remains vibrant and resilient. For a deeper dive into seasonal strategies and expert recommendations, explore essential fall tree trimming tips that can help you prevent future issues and keep your property looking its best. By combining smart removal methods with proactive maintenance, you’ll cultivate a safer, more beautiful outdoor space for years to come.


Write A Comment