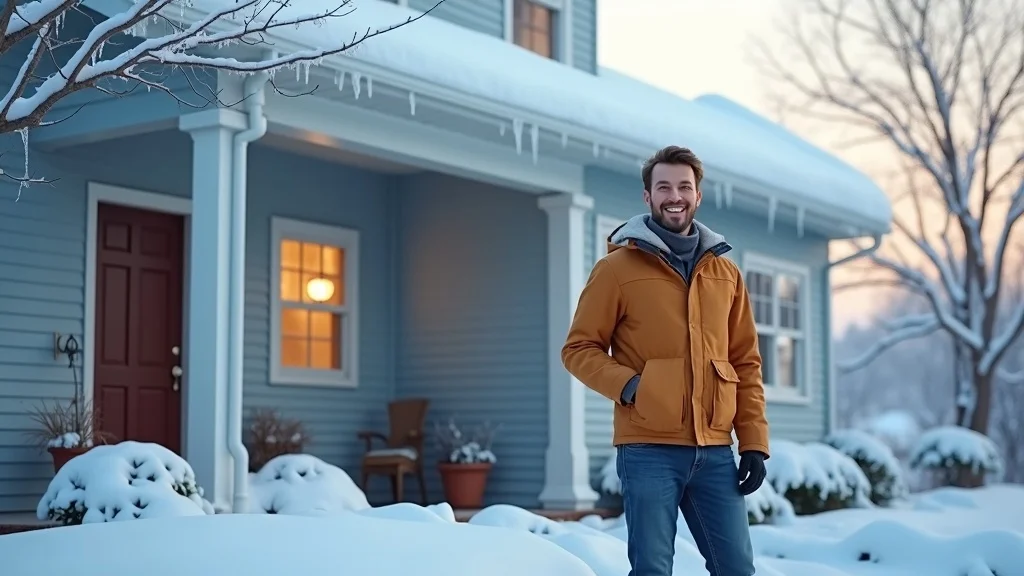
Did you know? Unnoticed winter damage can quickly escalate: what looks like a harmless water stain or a small patch of melting snow on your roof could actually signal a much larger—and costlier—problem brewing beneath the surface. Taking a few strategic steps after the thaw can help you avoid major repairs and preserve your property’s value for years to come. Startling Winter Facts: The Hidden Costs of Winter Damage
While snowy scenes may look picturesque, beneath the surface, winter weather can devastate a home in surprisingly subtle—and expensive—ways. Home inspection experts routinely uncover issues like roof leaks, water stains, or dangerous ice dams only after they’ve already caused significant water damage. When ice dams form along the roof edge, meltwater can seep under shingles, saturating the roof deck and insulation. Add in freeze-thaw cycles, and suddenly you have spring rain entering through what used to be tiny cracks. Winter damage isn’t just about the immediate aftermath of snow and ice—it’s the slow, hidden costs that pile up over time. From warped window frames to soft spots in the attic or moisture creeping along foundation walls, homeowners who “wait and see” often face preventable, expensive repairs. Attic leaks, basement moisture, and wet ceilings can all escalate if ignored. Knowing how to inspect for winter damage means you can spot these red flags early, take action, and prevent costly solutions down the line. "Unchecked winter damage can silently eat away at your property until small issues become expensive fixes." – Home Inspection Expert What You'll Learn About How to Inspect for Winter Damage Step-by-step process for a thorough home inspection after winter
Key winter damage signs to spot around windows and doors
How snow and ice contribute to safety hazards and water damage
When to take action and how to prevent costly repairs Winter Damage Explained: What Is a Home Inspection for Cold Weather?
Most homeowners think of a home inspection as something you schedule when buying or selling a house. But after harsh winter months, conducting a thorough inspection focused on seasonal risks is one of the smartest, most budget-friendly moves you can make. Understanding how to inspect for winter damage is your first defense against costly surprises from ice dams, water stains, or structural issues. Unlike occasional checkups, a winter-focused inspection zeroes in on problems created by snow and ice, thaw cycles, and the shifting moisture levels unique to cold weather. A post-winter home inspection addresses areas hit hardest by the season: the roof, attic, foundation, siding, as well as critical spots like windows and doors. This approach helps you spot subtle signs (damp spots, small gaps, soft spots) before they snowball into massive headaches. General contractors often stress that it’s not about looking for one glaring problem—it’s about investigating every key area where water, cold, and wind can invade. When you pay attention now, you stand a much better chance of avoiding major repairs or even dangerous safety hazards. As you work through your post-winter inspection, remember that maintaining your property’s exterior is just as important as interior checks. For homeowners interested in leveraging technology to protect their landscape and foundation from water-related issues, exploring advancements in smart irrigation can be a valuable next step. Learn how innovative solutions are transforming lawn care and water management in this overview of Irrigreen’s smart irrigation technology and its impact on modern home maintenance. Why Home Inspection Matters After a Harsh Winter
Every winter brings its share of frozen pipes, stubborn ice dams, and roof deck stress. What matters most is catching problems before spring’s rain and warmth make them worse. A delayed response can mean modest water damage turns into ruined drywall, warped floors, or a compromised foundation. Homeowners and property managers who take these steps each spring are often surprised at how many small issues they can resolve themselves—from re-caulking windows to patching indoor damp spots—while learning when to call general contractors for more significant repairs. Inspections don’t have to be overwhelming or time-consuming. With a simple checklist and a flashlight, you can quickly scan for cracking paint, peeling caulk, water stains, or drafty areas. Even simple signs like a sagging gutter or condensation on windows are enough reason to pay attention—they point to potential water damage below the surface. Regular inspections after winter protect your investment, reduce long-term costs, and help you feel confident in your property’s resilience. Common Types of Winter Damage Including Water Stains and Ice Dam Issues
Winter’s greatest hits for home damage are usually invisible at first, becoming obvious only when you know where to look. Ice dams, for example, begin as heavy snow accumulates on the roof. Warm air from below melts the underside, which refreezes at the cold eaves and forms a ridge. Water backs up behind this ridge, seeping under shingles and into the attic or behind walls, producing water stains and mildew. Water that leaks into attics or wall cavities often escapes notice until it causes warped drywall, staining, or even mold. It’s why vigilant homeowners inspect the roof deck, attic insulation, and wall junctions after every major thaw. Another common issue is foundation and siding problems. Melting snow and ice can pool along the home’s perimeter, overloading your drainage system, and exposing basement walls to moisture and cracks. Even small gaps or settling can allow water intrusion, resulting in basement humidity or visible damp spots. Regular home inspections and attention to these details can prevent costly surprises. Spotting winter damage early is key to making repairs—before minor cracks or leaks escalate into foundation concerns or structural failures. Step-by-Step: How to Inspect for Winter Damage Indoors
Interior inspections are all about tracking water’s sneaky path from outside to inside. After a long, cold season, make a point of scanning every room—especially the attic, ceilings, and basement—for telltale signs of leaks, rot, or mold. The most reliable approach is starting high and working your way down, since snow and ice melt first hit your roof, then trickle down to walls, windows, and finally the lowest point: the basement or crawlspace. This careful, top-to-bottom routine helps you identify both obvious and hidden threats, like small stains behind furniture, peeling paint near windows, or excess humidity in the basement. Don’t forget to include regular maintenance tasks, like opening and closing windows and inspecting locks and seals. Every detail counts when identifying winter damage and heading off more serious water damage or safety hazards. Where to Look First: Ceilings, Walls, and Water Stains
Start your inspection at the ceiling. The first sign of trouble might be a faint ring or discoloration—classic symptoms of a leak coming from the attic, roof deck, or poorly sealed upper windows. Water stains can be subtle: a slightly darker patch, a musty smell, or even new cracks in plaster. These “small issues” often signal that water from ice dams or melting snow has penetrated the insulation above. Professional inspectors suggest shining a flashlight at an angle to ceilings and wall junctions, revealing any signs of bulging drywall, soft spots, or dampness that you might otherwise miss. If you spot water stains on upper floors, track their likely source upward—could ice have been dammed on the roof, letting water seep in? For basement moisture, investigate window wells and below-grade walls: these damp spots often show up as peeling paint, powdery residue (efflorescence), or spreading discoloration. By methodically inspecting each key area, especially after significant snow or ice events, you’ll be more likely to catch water damage before it undermines air quality, structural integrity, or indoor comfort. Windows and Doors: Finding Leaks, Drafts, and Seal Failures
Windows and doors are some of the most vulnerable spots for winter damage. Condensation, ice formation inside panes, or cracked weather stripping all point to issues with insulation and air-tightness. Inspect every window for fogging or water droplets between glass layers, especially during the thaw. Broken seals don’t just lead to cold drafts—they’re also an invitation for water to seep in and cause hidden wood rot, warped frames, or even mold. Run your hand along sills and casings to feel for cold air, moisture, or unusually soft wood. Next, pay special attention to caulk and paint around entryways. It’s common for cold temperatures and freeze-thaw cycles to crack or peel caulking around doors, creating “small gaps” where water and cold air can invade. Even minor leaks or drafts at windows and doors can make heating bills spike while damaging internal walls or floors. If you notice any malfunction in how windows or doors open and close, this might indicate that frames have absorbed water and begun to swell or lose their shape. Addressing these signs early can prevent costly repairs and additional water damage down the road. Check for condensation or ice inside window panes
Look for cracked or peeling caulk around doors Detecting Safety Hazards: Electrical, Structural, and Slip Risks
Some hazards triggered by winter weather aren’t obvious at first glance. Wet or icy entryways, damaged wiring from ice intrusion, or structural shifts in load-bearing walls can put anyone on your property at risk. Start with the most-used paths inside your home: hallways, entryways, and steps. Look closely for wet footprints, puddles, or surfaces that remain damp—these can indicate that moisture is getting in where it shouldn’t. Over time, persistent dampness around doors or windows can warp floors and make them slippery. Be thorough in checking for trip hazards like bulging tiles, soggy carpets, or noisy floorboards. Move to electrical outlets and wall switches near windows, doors, and the base of exterior walls. Are any of these showing signs of moisture, discoloration, or corrosion? Even a slight irregularity can be a clue that water has crept in, posing a fire risk. Last, check ceilings and basement beams for sagging sections or visible mold, especially below roof valleys or heavy snow loads. Addressing these safety hazards prevents not only property damage but also protects everyone who enters your home. Step-by-Step: How to Inspect for Winter Damage Outside
Exterior inspections focus on the places where snow and ice accumulate and then migrate as temperatures rise. The roof, gutter system, siding, and foundation are the “front lines” for winter’s impact. Start your check after a major thaw or as soon as it’s safe to move around your property—meltwater often exposes problems that were invisible beneath snowbanks all season. Look for visible pools, ice build-up, and overflow from gutters, paying attention to every key area where water might have entered or collected. A proactive approach is best: walk your property’s perimeter with an eye for the unusual—missing shingles, sagging gutter sections, siding that’s cracked or warped, or sudden “settling” near the foundation. Remember, winter’s repetitive freeze-thaw cycles expand minor cracks into much bigger concerns. Inspect for anything that looks out of place: newly exposed soil along the foundation, uneven drainage patterns in the yard, or even patches of dampness that linger long after the rest of the exterior has dried. Inspect Your Roof and Gutters: Spotting Ice Dams, Snow and Ice Build-Up
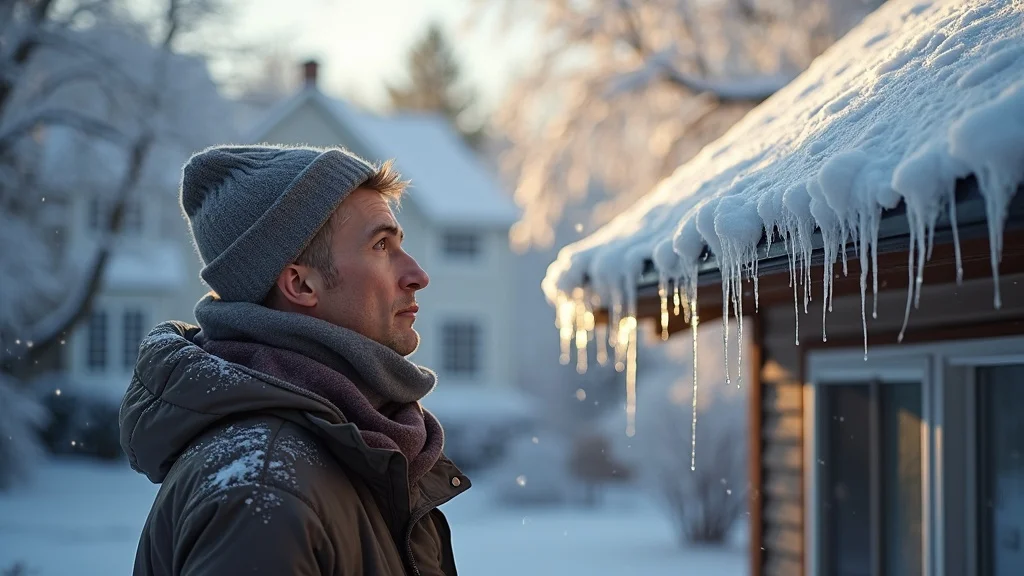
The roof is ground zero for most winter damage. When you look up, watch not only for missing or curled shingles but also for heavy ice dams forming at the eaves or valleys. Thick ridges of ice or large overhanging icicles can block normal drainage, forcing water to back up beneath the roofing materials. This often leads to rapid deterioration of the roof deck, and can eventually cause leaks, water stains, and ceiling damage inside. Meltwater that collects in gutters accelerates wear and can pull gutters away from the fascia if they’re clogged or heavy with ice. Be cautious and avoid climbing onto icy roofs yourself—many winter roof inspections start from the ground with binoculars. Check for sagging sections, odd dips, damp patches, or signs of “dams forming. ” If you see vapor or steam escaping as snow melts, that’s a sign your attic insulation or roof ventilation isn’t working correctly. For areas with routine snow and ice events, it’s smart to schedule a spring inspection with a general contractor to identify areas most at risk for water penetration. Immediate attention to the roof and gutters can prevent costly repairs and future leaks. Checking Home Exterior: Siding, Foundations, and Drainage
Exterior walls and foundations absorb winter stress differently than the roof. As snow builds up and later melts along your home’s base, moisture can seep through cracks in siding, brickwork, or even beneath loose trim. Water stains, efflorescence (a white powder), and peeling paint are warnings of water moving behind your home’s protective layers. Walk the perimeter and pay close attention to any spots where siding isn’t “lying flat”—even small gaps signal the potential for significant water intrusion come spring. Look for signs of recent settling, such as uneven ground or separating at wall joints. Your drainage system is also a critical area for inspection: ensure all downspouts are clear and direct water well away from the foundation. Pooled water, muddy spots, or constant dampness around the basement windows are “problem areas” that indicate underlying leaks or insufficient grading. Professional inspectors and general contractors recommend clearing debris from drains and trimming back vegetation to keep water flowing away from your structures. Even if you don’t find visible damage, routine checks and post-winter maintenance make your property more resilient for years to come. Recognizing Water Damage from Snow and Ice
Certain signs of water damage are unique to colder months. After snow and ice events, look for “damp spots” that linger or change shape over a few days. Check places you might normally ignore—furnace rooms, crawlspaces, and corners behind stored items—which often show the first warning signs of a deeper leak or moisture problem. When you spot these early, action is much less disruptive (and less expensive) than after “rot” or mold set in. You’ll also want to gauge humidity in basements and attics; excess moisture or condensation often signals that melting snow or ice dams have invaded from above. Paying attention to spring inspection season is critical, as each thaw or heavy rain can pump water into unseen areas where it sits and causes slow decay. Knowing exactly what problem areas look like helps you catch small changes before they become repair emergencies. Water Stains: A Warning Sign You Can’t Ignore
It’s tempting to dismiss water stains as an old or harmless issue, but in reality, they’re red flags for active problems. Even a single discolored patch on a wall, ceiling, or basement floor can indicate that water is working its way inside from melting snow and ice on the roof, clogged gutters, or cracks in the exterior. Over time, a water stain can grow, develop “tide marks,” and foster mold or mildew behind the surface. Recurrent or spreading stains typically point to ongoing infiltration—which is why home inspectors and general contractors pay close attention to even faint discoloration. Basements, in particular, are susceptible. Moisture along concrete walls or pooled water near corners could be a sign that “thaw cycles” are overwhelming your drainage or waterproofing system. Detecting water stains early lets you patch cracks or reseal before foundation damage—and toxic mold—set in. Inside, stains near window frames, chimneys, or attic hatches are clues that water is getting past your home’s defenses. In all cases, a careful visual inspection supported by touch (is it damp?) and smell (musty odor?) is crucial in catching winter damage before repair bills add up. Ice Dam Formation and Their Impact on Home Inspection Assessments
No discussion of winter damage is complete without mentioning ice dams. These thick, stubborn ridges of ice at the edge of your roof form when attic heat causes the roof deck to warm and melt the underside of the snow load. As the water runs down and reaches the cold eaves, it freezes again—layer by layer, an ice dam builds up. Once the dam forms, new meltwater has no clear path off the roof and begins to seep under the shingles. This process can destroy roofing materials, saturate attic insulation, and eventually create water stains or damaged plaster on ceilings below. When conducting a home inspection after winter, pay attention to where ice dams are likely to form—especially roof valleys, overhangs, and eaves above poorly insulated rooms. Don’t forget to check around skylights, vents, and chimneys, where flashing is often vulnerable. If you find evidence of recurrent ice damming, addressing attic insulation or ventilation is essential. The sooner you notice an issue, the less likely a minor annoyance will turn into a major structural or health hazard. Proactive inspection and repair will prevent costly water damage and make each new winter less stressful. Prevent Costly Repairs: What to Do If You Spot Winter Damage
If your inspection uncovers obvious winter damage or questionable areas, it’s time to take the next step. Not all problems require a professional right away. Simple fixes—like re-caulking around windows, tightening weather stripping, or unclogging gutters—are safe for most DIYers with the right tools. Patching small gaps, resealing siding joints, or drying out damp basements can stop leaks in their tracks. Addressing these small issues while they’re still minor can make a huge difference and prevent costly escalation. However, call in the experts when you see signs of significant water damage, roof or foundation cracks, electrical issues, active leaks, or large ice dams. Arborists, roofers, and general contractors have the experience to tackle the toughest jobs. Professional home inspectors provide a neutral assessment, prioritize problem areas, and can create a repair plan that keeps your budget and safety front and center. A little time invested now means you won’t face “emergency” repairs or major renovations later in the year. When to manage simple fixes yourself
When to call an arborist, roofer, or professional home inspector Quick Reference Guide: How to Inspect for Winter Damage Checklist by Area Key Area
Interior
Exterior Roof
Check ceilings for stains/leaks
Look for ice dams, missing tiles/shingles, sagging sections Windows & Doors
Inspect for drafts, condensation, and seal failures
Check for cracked caulk, damage around frames Siding/Foundation
Spot peeling paint, interior damp spots, efflorescence
Look for cracks, water stains, drainage issues Basement/Crawlspace
Check for moisture, mold, puddles
Examine window wells, pooling water outside Gutters/Drainage
N/A
Clear blockages, ensure runoff directs away from home Title: Pro Tips on How to Inspect for Winter Damage in Your Home
Description: An expert walks you through an in-depth home inspection after winter, highlighting how to check roofs, windows, basements, and other vulnerable areas for leaks, ice dams, water stains, drafts, and foundation cracks. Filmed in a real residential setting with practical, easy-to-follow steps and visual cues for what to look for. People Also Ask
What are the 4 P's of winter safety?
The 4 P’s of winter safety—People, Pets, Pipes, and Property—remind homeowners to check on loved ones and neighbors, protect their animals and plumbing from freezing, and inspect their property inside and out after snow and ice events. Practicing these basics is key to staying safe and protecting your investment all winter long. What things are big red flags in a home inspection?
Major red flags during a home inspection often include signs of active water damage (like stains, soft spots, or musty odors), cracked or shifting foundations, electrical problems (flickering lights or burned outlets), excessive attic moisture, and clear signs of ice damming on the roof. These issues signal hidden structural or safety hazards that should be handled quickly. What is a winter inspection?
A winter inspection is a specialized home assessment done after extreme cold, snow, or ice to check for damage that typical seasonal stress can cause. It covers the roof, attic, windows, doors, foundation, and key drainage areas, highlighting problems like leaks, broken seals, drafts, and ice dams before warm weather makes them worse. How to tell if it's going to be a bad winter?
While no forecast is foolproof, signs of a bad winter can include abrupt drops in temperature, early and frequent snowfall, and prolonged periods below freezing. Watch for local weather alerts and recurring snow and ice events. Keeping your home prepared before “bad winter” conditions is always wise. Learn how to spot and address hidden safety hazards during winter home checks, including slippery entryways, electrical risks, and structural issues caused by snow and ice. Frequently Asked Questions: How to Inspect for Winter Damage What are signs of water damage specific to winter weather? Signs include water stains on ceilings and walls, condensation on windows, damp spots near basements and foundations, or mold/mildew in unexpected places. Watch for swelling wood, peeling paint, or musty odors during and after freeze-thaw cycles. How often should a home inspection for winter damage be performed? After every major snow or ice event, plus a thorough walkthrough at the end of the winter season. Regular maintenance checks with the changing seasons—especially spring—help prevent surprises and costly repairs. What are reliable DIY methods for assessing ice dams and water stains? Use a flashlight to check attic and ceiling edges for stains or dampness, walk the roof’s perimeter for visible ice dams from the ground, and inspect gutters and downspouts for blockages. Press gently on suspect areas—soft spots often indicate underlying water problems. Key Takeaways: How to Inspect for Winter Damage Efficiently Early detection of winter damage can prevent costly future repairs.
Thorough home inspections after snow and ice events are essential.
Pay attention to water stains, window and door leaks, and safety hazards.
Knowing what to look for helps you react with confidence—or call in help. Are You an Arborist? Get Featured in Tree Guardian News
Get featured in Tree Guardian News and put your expertise in front of the tree-care decision makers who hire—homeowners, property managers, and business caretakers. Share a quick tip, a case story, or a safety insight, and we’ll help amplify your name, your voice, and your work to a community of tree care professionals and the people who need trusted arborists. Want to be included? Submit your details to be considered for an interview or spotlight feature at Tree Guardian News. Conclusion:
Conducting a smart home inspection for winter damage ensures your property stays safe, sound, and cost-effective—no matter the weather. Start small, stay vigilant, and don’t hesitate to call an expert when needed. If you’re ready to take your home’s resilience to the next level, consider how integrating smart technology can further protect your property from seasonal challenges. The future of home care is evolving, with innovations like smart irrigation systems not only conserving water but also helping to prevent foundation and landscape issues caused by improper drainage. For a deeper dive into how these advancements are shaping the way homeowners approach maintenance and sustainability, explore the broader impact of smart irrigation technology and its role in transforming lawn care and property management at Irrigreen’s $19M funding announcement. Discover how staying ahead with technology can make your home safer, greener, and more cost-efficient year-round.
 Add Row
  Add
Add 


Write A Comment